
To check a WiFi dead zone before installing a doorbell or camera, test at the actual mounting point, compare it with a test near the router, then check the camera’s own connection and live video. A fast internet plan does not guarantee a reliable connection through an exterior wall. Record the results before buying an extender or drilling permanent mounting holes.
By Pixl Canada. Manufacturer guidance checked October 5, 2026. The worksheet below is a planning aid, not a claim that a particular home or device has been tested.
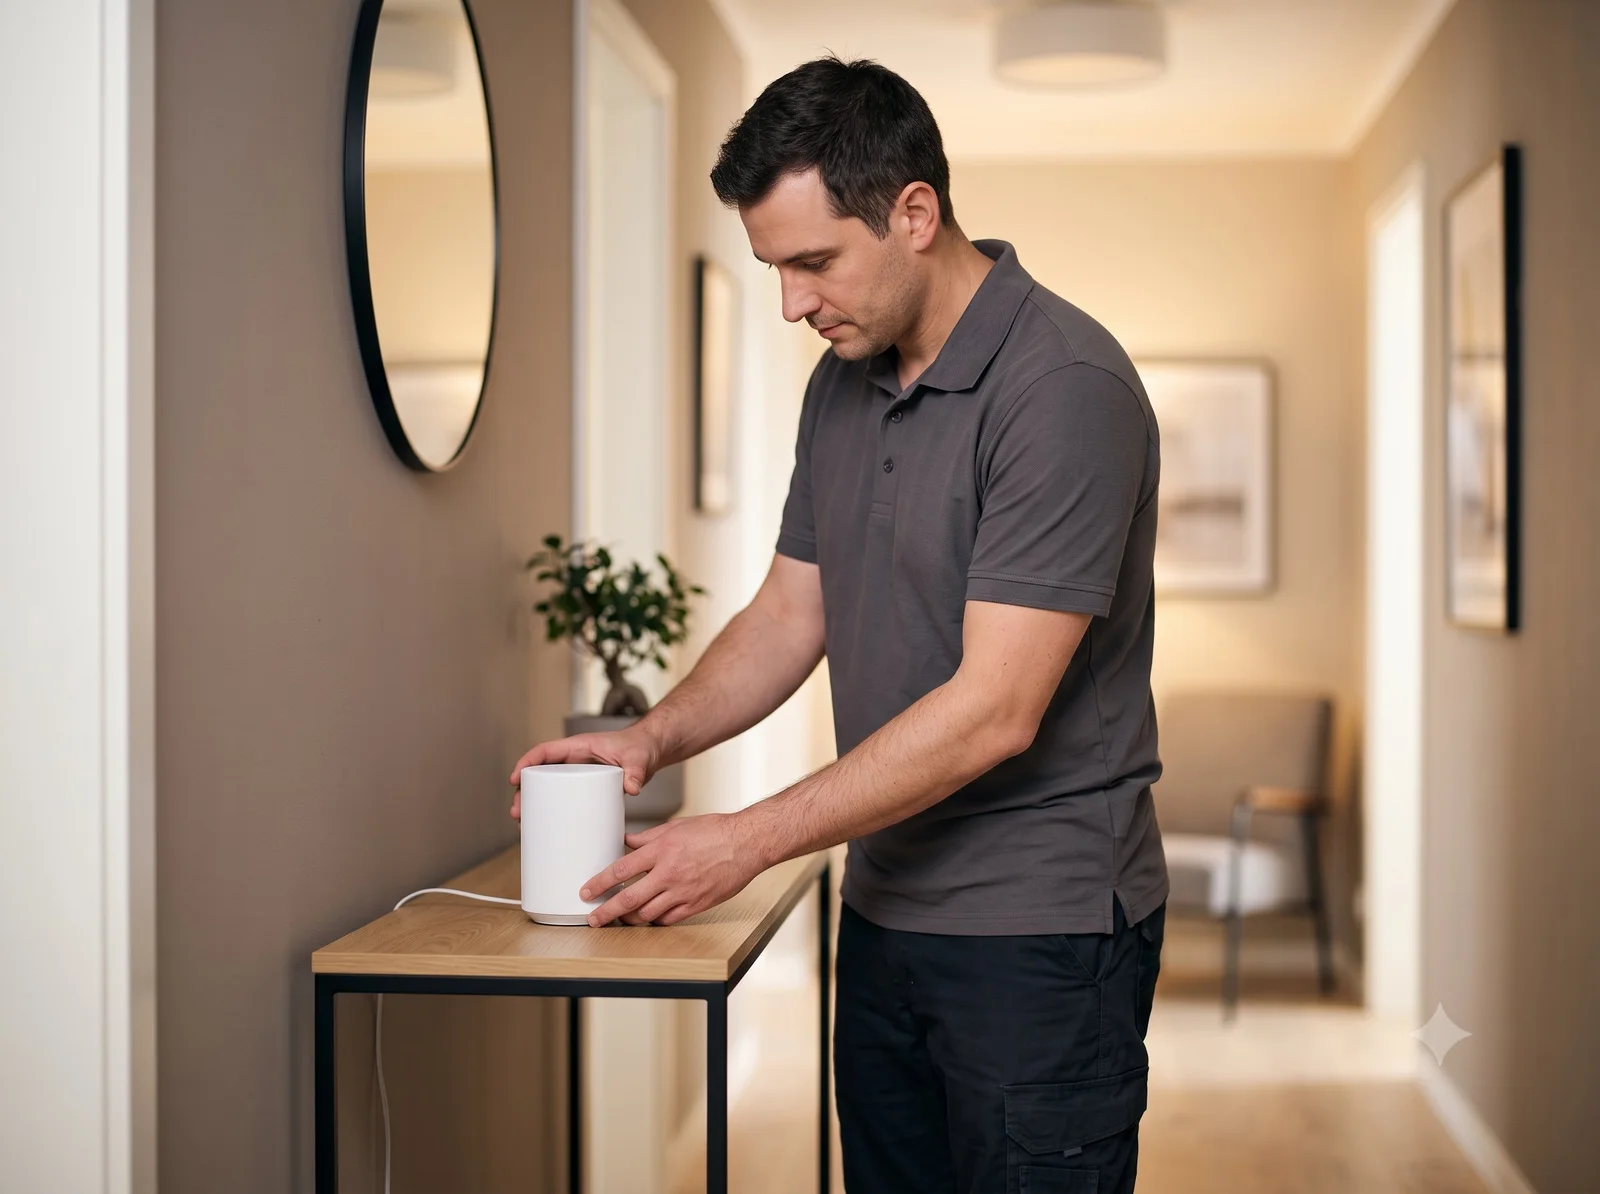
Three connections to check
- Internet to the router: is the service reaching the home working consistently?
- Router to mesh node or access point: if you use one, does it have a good connection back to the network?
- Network to camera: does the installed device stay connected where it will actually operate?
These checks help explain a common puzzle: a phone can show strong WiFi beside a mesh node even when that node has a weak connection to the main router. Test each part of the route rather than relying on the number of WiFi bars.
A before-and-after WiFi test worksheet
Use this sequence for each proposed location. Stay at ground level for preliminary checks; an elevated camera needs a final test at its installed position.
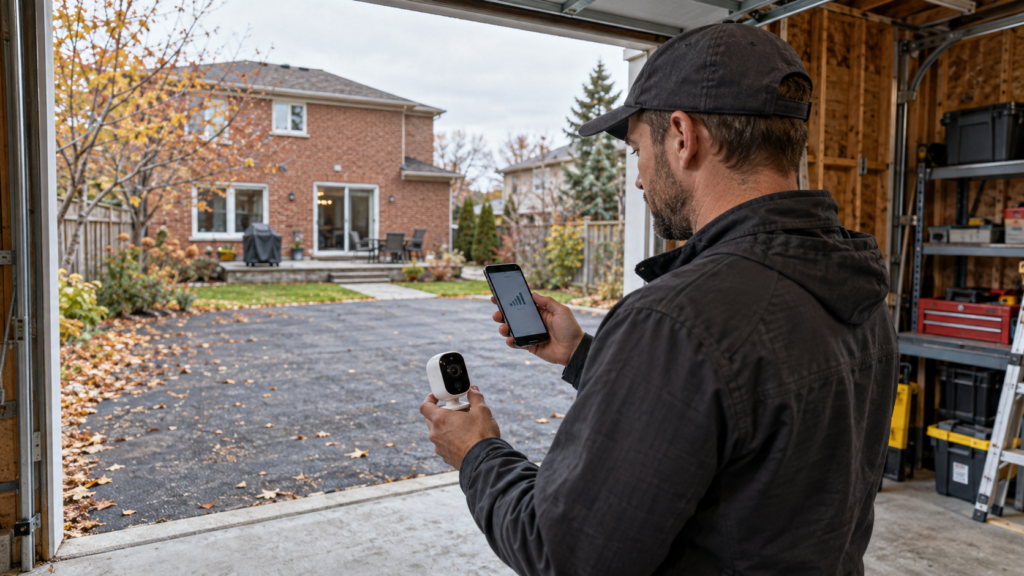
- Write down the equipment. Record the doorbell or camera model, router model, any mesh nodes and the intended location. Check the device manual for supported WiFi bands and security settings.
- Establish a baseline. Connect a phone to the home WiFi and record a speed test close to the router. Note upload as well as download speed. Confirm the phone has not switched to mobile data.
- Repeat at the doorway or camera area. Use the same phone and test method. Close the door and leave furniture and blinds in their normal positions. This makes the comparison more useful than testing with an open doorway.
- Test the actual device. Once it can be powered safely according to its manual, check its signal report and open live view. A phone’s radio is different from a camera’s, so the phone test is only a screening step.
- Check the intended functions. Trigger an ordinary arrival, confirm the alert reaches the owner’s phone and review the recording if that feature is enabled. Test remote access from the phone’s mobile connection as a separate check.
- Change one thing and repeat. Move one node or router, then record the new results. Repeat during normal household internet use and after permanent installation. A single successful test does not establish long-term reliability.
| Record | Before adjustment | After adjustment |
|---|---|---|
| Location and time | Doorway / garage / other | Same location; note time |
| Upload speed | Result in Mbps | Result in Mbps |
| Device signal report | RSSI or app rating | RSSI or app rating |
| Live view and alerts | Works / delayed / fails | Works / delayed / fails |
| Recording playback | Works / fails / not enabled | Works / fails / not enabled |
| One change made | Original setup | For example: moved hallway node |
What does RSSI mean for a Ring doorbell?
RSSI is a signal-strength reading. With negative readings, a value closer to zero is stronger: −50 is stronger than −70. Ring’s guidance rates 0 to −60 as strong, −60 to −70 as improvable, −70 to −80 as poor, and −80 or worse as very poor. Its app shows the reading under Device Health. These are Ring’s categories, not universal pass/fail limits for every camera brand.
Ring also publishes upload requirements by device resolution. Check the exact model’s current requirement and allow for other devices using the connection. See Ring’s WiFi recommendations for the current table.
Where should a mesh node go?
A mesh node needs a usable connection to the rest of the mesh. Google’s guidance recommends moving a weak point closer to the router or another point, placing it in the open and avoiding dense obstacles. A position between good coverage and the problem area is a starting point; use the system’s mesh test to check the result. See Google’s mesh test guide.
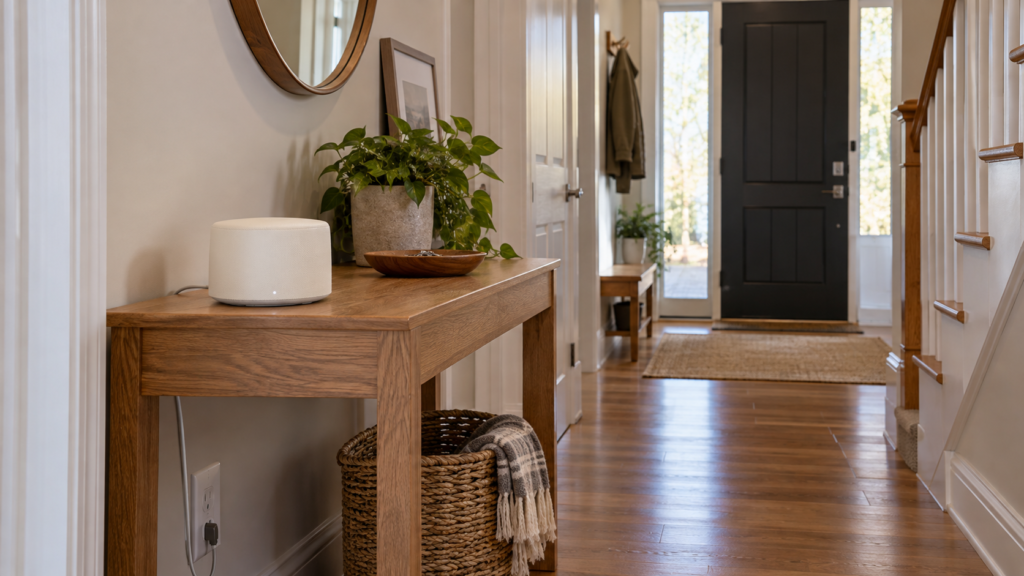
For a front-door problem, compare a suitable hallway position with a position farther inside the home. Keep indoor-only equipment indoors. Do not assume placing a node directly beside the camera fixes a weak upstream connection.
What the test results tell you
- Both locations perform poorly: investigate the router, internet service and network load before buying more coverage equipment.
- The router area works but the doorway does not: the local radio path needs attention. Repositioning equipment or adding a properly connected access point may help.
- The phone works but the camera fails: check the camera’s supported bands, power, firmware and app diagnostics. Its radio or configuration may be the limiting factor.
- Live view works but alerts or recordings fail: review notification permissions, motion settings, recording settings and the account plan as well as connectivity.
Keep the test record when asking for help. It gives the installer or manufacturer a reproducible symptom instead of just “the camera keeps going offline.”
When is wired networking worth considering?
If the building layout makes reliable wireless coverage difficult, ask whether Ethernet to an access point or compatible PoE cameras would suit the job. Confirm the device supports the proposed connection: a WiFi-only doorbell cannot simply be converted into a PoE camera. Compare PoE and WiFi camera considerations and the camera installation cost guide.
Prepare for a WiFi or smart-device appointment
Send the device model, city, a photo of the installation area, approximate router location and your worksheet results. Keep account ownership with you. Use unique passwords, enable two-factor authentication where supported and maintain updates; these practices align with the Canadian Centre for Cyber Security’s connected-device guidance.
For installation help, review Pixl’s smart home and WiFi setup service, compare smart home installation prices or request a quote. Confirm the equipment and any network changes included in the written scope.