
Smart home · 8 min read · updated sep 2026
How to Install a Thermostat: Step-by-Step Guide for Canada
By the Pixl Canada install team
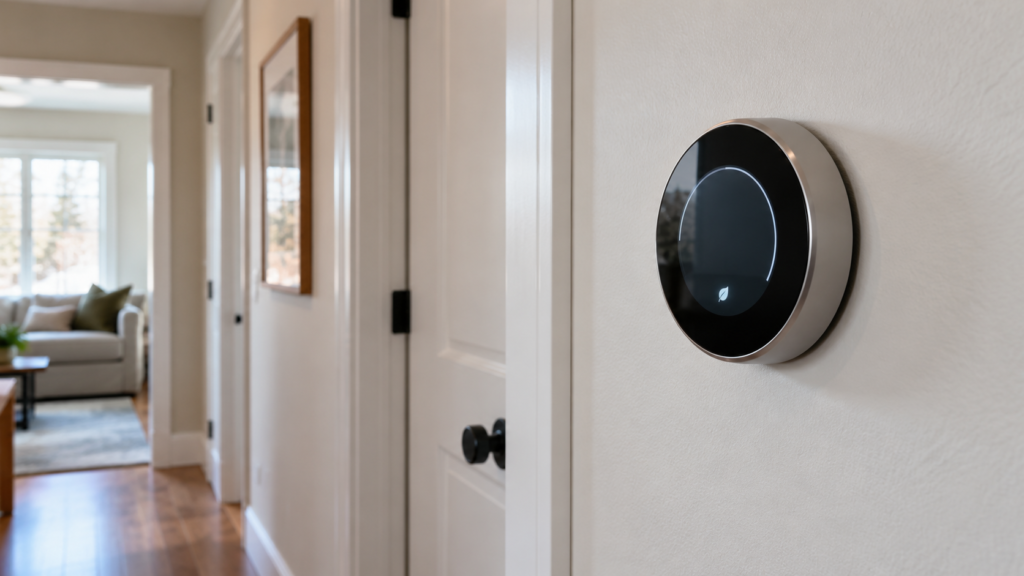
Quick answer
To install a thermostat, turn off power to your furnace, remove the old thermostat, photograph and label each wire, mount the new base plate, connect each wire to the matching terminal, attach the faceplate and restore power. Then test heat, cooling and fan. Most low-voltage (24 V) swaps take under an hour.
What type of thermostat do you have?
Check the label on your current thermostat and look at the wires behind it. Thin, colourful wires on screw terminals mean low voltage (24 V). Two or four thick wires joined with wire nuts, often labelled 120 V or 240 V, mean line voltage.
| Type | What it controls | DIY friendly? |
|---|---|---|
| Low-voltage programmable | Furnace, central air, heat pump (24 V) | Yes, for most homeowners |
| Low-voltage smart (Nest, ecobee, Honeywell Home) | Furnace, central air, heat pump (24 V); often needs a C wire | Yes, if wiring matches |
| Line-voltage | Electric baseboards, convectors, radiant floors (120 to 240 V) | Treat as electrical work |
A programmable thermostat follows a schedule you set. A smart thermostat adds Wi-Fi, app control and features like learning or occupancy sensing. Both install the same way on a 24 V system. The main difference is power: most smart thermostats want a constant supply from a C wire. Our C wire thermostat guide explains how to check for one and what to do if you do not have it.
What tools do you need to install a thermostat?
You need only basic hand tools for a low-voltage thermostat. Gather these before you start:
- Phillips and flat screwdrivers (a small one for terminal screws)
- Your phone camera
- Wire labels (most new thermostats include them) or masking tape and a pen
- Drill with a small bit for anchors, if the new holes do not line up
- Level (many base plates have one built in)
- Wire stripper, in case a wire end is damaged
- Drywall patch or a trim plate to cover old holes and paint marks
Also check compatibility before you buy. Nest, ecobee and Honeywell Home all have compatibility checkers, and the Honeywell Home installation guide selector links to the right guide for each model.
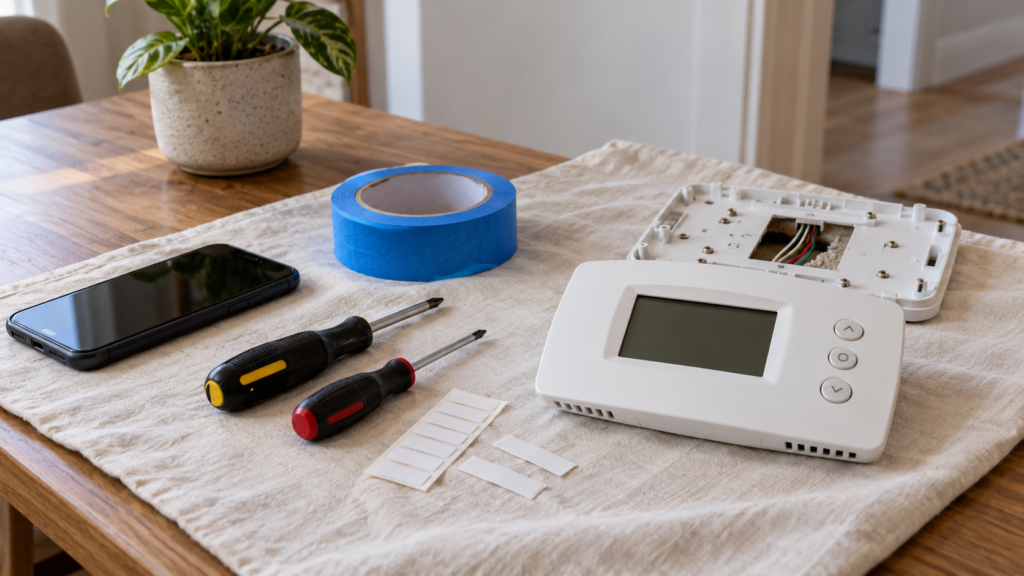
How to install a thermostat, step by step
The process is almost identical for every brand. Always follow your model’s own instructions when they differ from this list.
- Turn off the power. Switch off the breaker for your furnace or air handler, or use the furnace service switch. Google Nest’s installation guide says to turn off power to your system before you expose any wiring.
- Confirm it is off. Change the setpoint on the old thermostat by several degrees and wait a few minutes. Nothing should start.
- Remove the old faceplate. Most pull straight off or unclip at the bottom. Some older models have a screw.
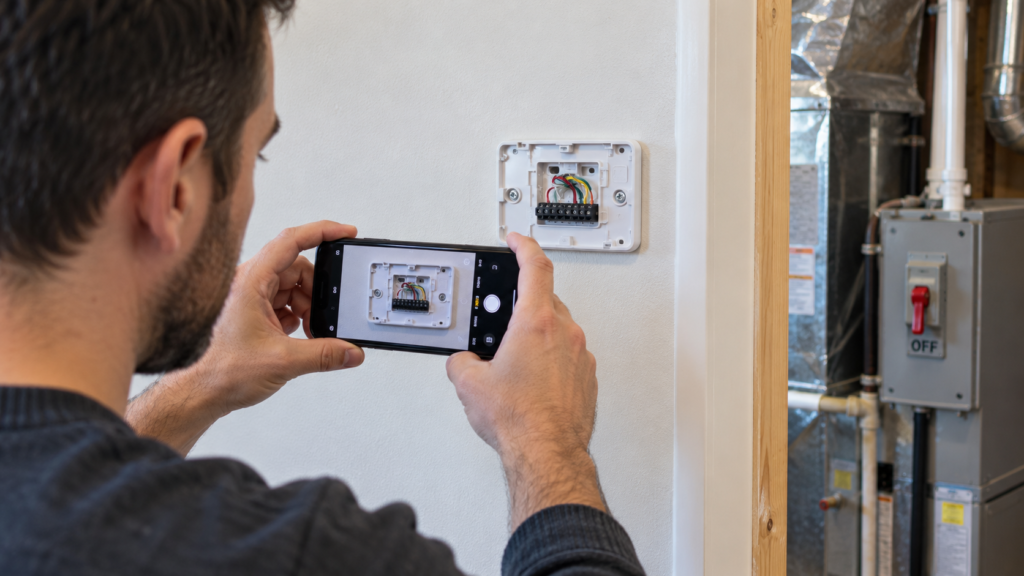
- Photograph the wiring. Take a clear photo showing every wire and the letter printed next to its terminal. Also note any jumper wire between terminals, like Rh and Rc.
- Label each wire. Stick a label on each wire matching the terminal letter it came from, not its colour.
- Disconnect the wires and remove the old base. Wrap the cable around a pencil or tape it to the wall so it cannot fall into the wall cavity.
- Mount the new base plate. Feed the wires through the centre, level the plate and mark the holes. Use the included anchors in drywall. Nest recommends a manual screwdriver for its base, since a power drill can crack it.
- Connect the wires. Insert each labelled wire into the matching terminal. Push-in terminals should stay pressed down. The ecobee installation guide says to tug each wire gently to confirm it is secure.
- Tuck extra wire into the wall and attach the faceplate until it clicks.
- Restore power and follow the setup screens or app. You will usually confirm the wiring and your system type here.
Rather have it done right? We install smart thermostats for $129, plus $50 if you need a C-wire adapter.
What colour wires go where on a thermostat?
Match terminal letters, not colours. Colours are a common convention, but installers do not always follow it, so your labels are what matter.
| Terminal | Common colour | Function |
|---|---|---|
| R, Rh, Rc | Red | 24 V power (Rh heat, Rc cooling) |
| W or W1 | White | Heat call (furnace) |
| W2 | Varies | Second-stage or auxiliary heat |
| Y or Y1 | Yellow | Cooling call (air conditioner or heat pump compressor) |
| G | Green | Fan |
| C | Blue or black | Common wire for constant power |
| O/B | Orange or dark blue | Heat pump reversing valve |
If your old thermostat had a jumper between Rh and Rc, you usually have a single red wire. Connect it where your new thermostat’s wiring guide says, usually R or Rh. If you have wires on terminals your new thermostat does not have, stop and check the manufacturer’s wiring guide before guessing.
How do you test a new thermostat?
Run each mode for a few minutes and confirm the right equipment starts. Do this right after install, while the wiring is fresh in your mind.
- Heat: set it a few degrees above room temperature. The furnace should fire and warm air should follow after a short delay.
- Cool: set it a few degrees below room temperature. The outdoor unit and indoor fan should start. Many thermostats add a delay of a few minutes to protect the compressor, so be patient.
- Fan: switch the fan to “on”. It should run without heat or cooling.
If a mode does nothing, turn power off and check that wire. If the screen reports a missing power wire, see our C wire thermostat guide. Avoid testing cooling on very cold days; many air conditioners should not run below a set outdoor temperature.
Common thermostat installation mistakes
Most failed installs come down to a handful of avoidable errors:
- Working with the power on, which can blow the low-voltage fuse on the furnace control board.
- Labelling wires by colour instead of by terminal letter.
- Skipping the photo, then forgetting where a spare or jumper wire went.
- Letting the cable slip back into the wall.
- Choosing the wrong system type in setup (for example, furnace instead of heat pump).
- Poor wire contact, from bent or too-short copper ends.
- Mounting on an exterior wall, near a heat vent or in direct sun, which throws off temperature readings.
Honeywell Home warns that improper wiring or configuration can cause unintended HVAC operation and property damage, so double-check before you close it up.
Can you install a thermostat on electric baseboard heat?
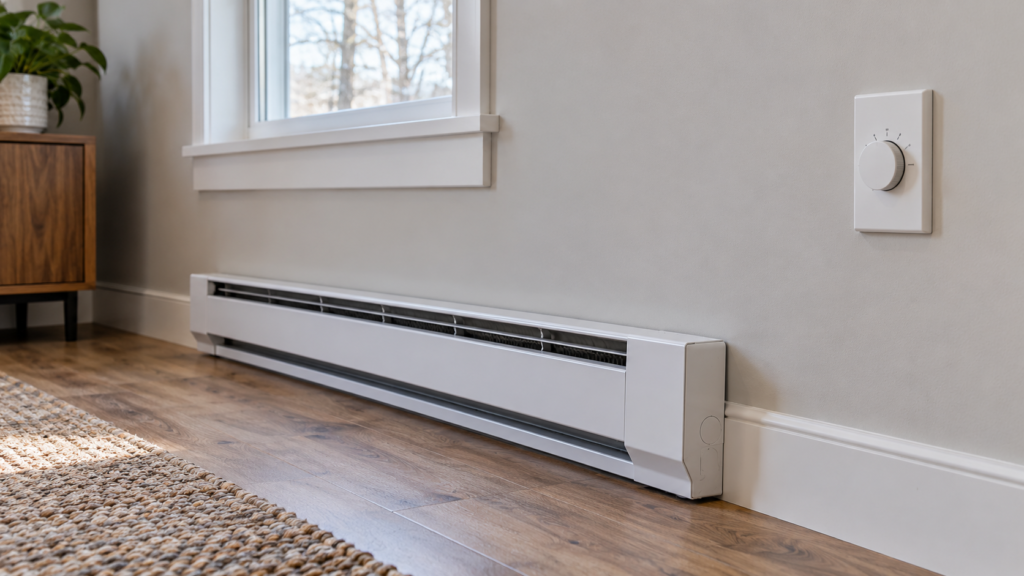
Not with a standard smart thermostat. Baseboard heaters use line-voltage thermostats that switch 120 to 240 V directly, as described in Natural Resources Canada’s line voltage thermostat bulletin. Google Nest also says its thermostats must not be connected to wires labelled 120 V or 240 V.
Line-voltage wiring can cause serious shock or fire if done wrong. You need a thermostat built for line voltage, and permit rules for homeowner electrical work differ by province. Check with your local electrical authority before replacing one, or hire a licensed electrician.
DIY or hire a pro?
If you have a 24 V system with a C wire and your wires match the new terminals, a thermostat is one of the easier DIY jobs. It gets harder with heat pumps, two-stage systems, missing C wires or old wiring.
| DIY | Pixl Canada | |
|---|---|---|
| Cost | Your time | $129 smart thermostat install, +$50 if a C-wire adapter is needed |
| Time | 30 to 60 minutes, more if stuck | Usually one short visit |
| Best for | Simple furnace and A/C swaps | No C wire, heat pumps, multi-stage systems, app setup |
| Risk | Blown fuse, wrong settings | Licensed technicians, $5 million liability insurance |
Pixl Canada installs smart thermostats in homes across Canada. Our licensed technicians handle the wiring, the C-wire adapter if needed and the app setup, and you pay after the job. See our smart device installation service, find your city on our locations page or contact us to book. You can also call or text (587) 899-7495, 7 days a week. Adding a video doorbell too? Read our Ring doorbell install guide.
Frequently asked questions
Can I install a thermostat myself?
Yes, if it is a low-voltage (24 V) system and your wiring matches the new thermostat. Turn off power, label every wire and follow the manufacturer’s guide. Line-voltage baseboard thermostats are electrical work, so check with your local electrical authority first.
Do you need an electrician to install a thermostat?
Not usually for a 24 V furnace or central air thermostat. For line-voltage thermostats on electric baseboards, hire a licensed electrician or confirm the rules with your local electrical authority.
How long does it take to install a smart thermostat?
ecobee says most installs take about 45 minutes. Plan on longer if you need to patch holes, add a C-wire adapter or sort out a heat pump setup.
How do I install a Nest thermostat?
Turn off power, photograph the wiring, label each wire with the Nest stickers, mount the Nest base and insert the wires until the buttons stay down. Attach the display, restore power and finish in the Google Home app.
What happens if I wire my thermostat wrong?
Usually the wrong equipment runs or nothing runs at all. In some cases a short can blow the fuse on the furnace control board. Turn off power, compare to your photo and fix the wiring before trying again.
How much does thermostat installation cost in Canada?
Pixl Canada charges $129 CAD before tax to install a smart thermostat, plus $50 if a C-wire adapter is needed. You pay after the job is done.
Also read thermostat wiring explained and baseboard heater thermostats. Written by the Pixl Canada install team: licensed technicians with $5 million liability insurance, installing TVs, security cameras, smart home devices and appliances across Canada.
Related articles