
Smart home · 8 min read · updated sep 2026
How to Install a Ring Doorbell: Battery and Wired Guide
By the Pixl Canada install team
Quick answer
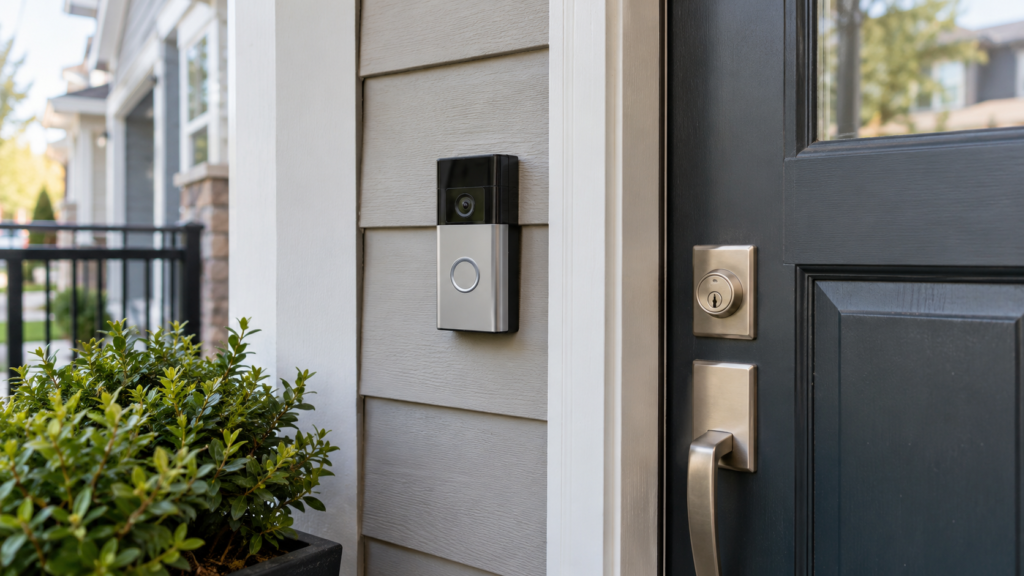
To install a Ring doorbell, first check which model you have. A battery Ring doorbell takes about 30 minutes: charge it, set it up in the Ring app, and screw the bracket to the wall about 4 feet up. A wired Ring doorbell also needs your existing doorbell wires and a compatible transformer, with the power turned off first.
Battery vs wired Ring doorbell: which one do you have?
Battery Ring doorbells run on a rechargeable battery and need no wiring. Wired models run on your home’s low-voltage doorbell circuit, so they never need charging but do need a compatible transformer.
Knowing which type you own decides how hard the job is. Here is how the two compare.
| Battery Ring doorbell | Wired Ring doorbell | |
|---|---|---|
| Power source | Rechargeable battery (optional wiring on many models) | Existing doorbell wires and transformer |
| Typical DIY time | 20 to 40 minutes | 45 to 90 minutes |
| Skill level | Beginner | Basic low-voltage wiring |
| Winter performance | Battery drains faster and may stop charging below freezing | Not affected by battery charging limits |
| Best for | Condos, rentals, homes with no doorbell wiring | Houses with a working wired doorbell |
| Pixl install price | $99 | $149 |
Ring lists different voltage needs for each wired model. According to Ring’s hardwiring guidelines, the Video Doorbell Wired and Wired Doorbell 2K need 10 to 24 VAC, while the Wired Doorbell Plus, Wired Doorbell Pro and Wired Doorbell 4K Pro need 16 to 24 VAC. Check your exact model before you buy anything else.
What you need before you start
Most Ring doorbells come with the screws, anchors and a small screwdriver bit in the box. You only need a few basic tools on top of that.
- A Phillips screwdriver (or the one in the box)
- A drill with a 1/4 inch (6 mm) masonry bit if you are mounting on brick, stucco or concrete
- A level and a pencil to mark your holes
- The wedge kit or corner kit, if your door is set back or at an angle
- Your phone with the Ring app and your Wi-Fi password
- For wired models: a voltage tester and access to your breaker panel
Check your Wi-Fi at the front door before you drill. If your phone shows only one bar there, the doorbell will struggle too, and a mesh system or extender may be needed first.
How to install a Ring battery doorbell, step by step
A battery Ring doorbell is the easiest smart device most people will ever install. Ring’s own battery doorbell installation guide follows the same basic order below.
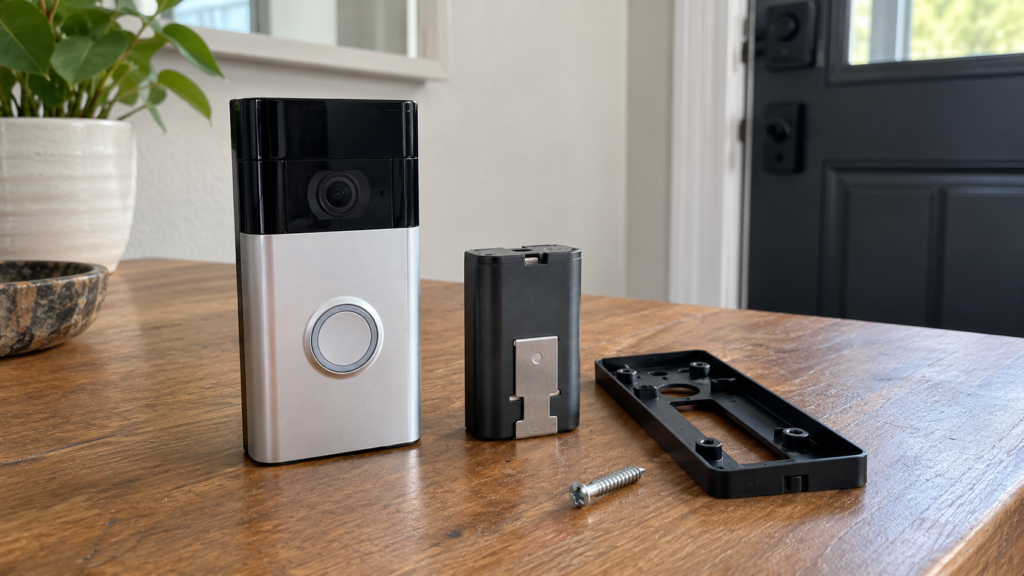
- Charge the battery fully. Plug it in with the included USB cable until the charge light shows it is full. This can take several hours.
- Set it up in the Ring app. Tap “Set Up a Device”, scan the QR code on the doorbell and connect it to your Wi-Fi. Do this near the door so you can confirm the signal.
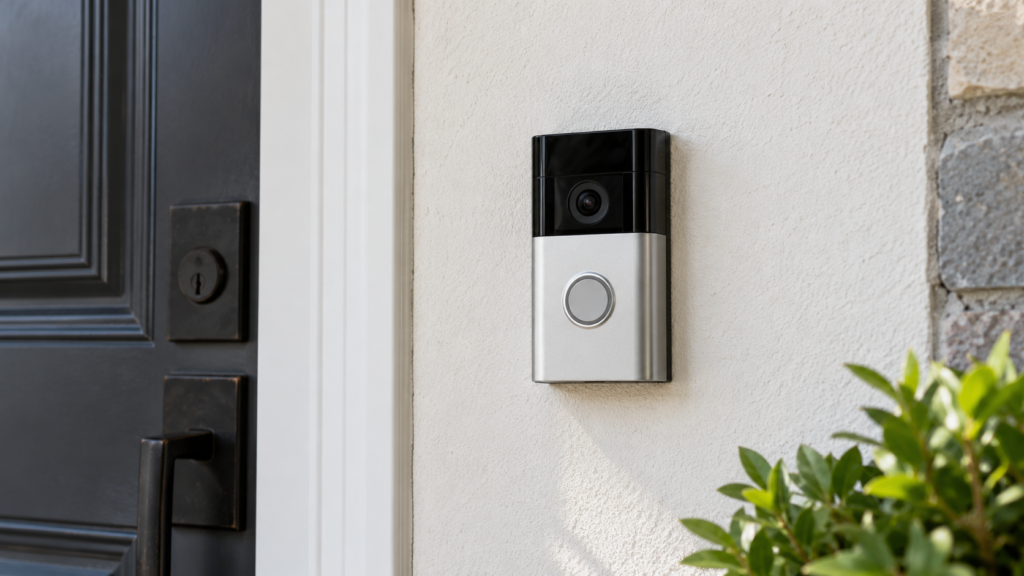
- Pick your height. Ring suggests about 4 feet (1.2 m) from the ground, which gives a good view of faces and packages.
- Add a wedge or corner kit if needed. If the door is recessed or the wall faces away from your walkway, screw the kit to the wall first. Ring says to install these before the doorbell.
- Mark and drill. Hold the bracket level, mark the holes and drill. Use the included anchors in brick, stucco or concrete.
- Mount the doorbell. Screw on the bracket, attach the doorbell and fasten it with the security screw at the bottom.
- Test it. Press the button, check live view and set your motion zones in the app.
Use only the security screw that came in the box. Ring warns that a longer screw can reach the battery and cause damage or a fire risk.
Rather not drill or wire it yourself? We install battery doorbells for $99 and wired doorbells for $149.
How to install a wired Ring doorbell
A wired Ring doorbell replaces your old doorbell button and connects to the same two wires. The key is making sure your transformer supplies enough power for your model.
- Turn off the power to the doorbell circuit at your breaker panel. Press the old button to confirm the chime is dead.
- Check your transformer. It is usually near the electrical panel, furnace or chime. Read the label for the voltage (VAC) and power rating (VA) and compare it to Ring’s requirements for your model.
- Check your chime. Most wired models work with a standard mechanical chime. Ring notes that the Wired Doorbell 2K Plus and Wired Doorbell 4K Pro are not compatible with existing chimes, so you would use a Ring Chime instead.
- Remove the old button and disconnect the two wires. Tape them to the wall so they do not slip inside.
- Install any accessory the Ring app asks for at the chime, following the in-app steps for your exact model.
- Mount the bracket, connect the two wires to the terminals on the back of the doorbell and attach it.
- Restore power and finish setup in the Ring app.
If your transformer is too weak, the doorbell may reboot, go offline or show low power. Replacing a transformer means working on 120 V house wiring. Ring itself notes that a qualified electrician may be required in your area, so check with your local electrical authority before doing it yourself.
Can I install a Ring doorbell without drilling?
Ring’s standard install uses screws, so drilling is the normal method. Some renters and condo owners use third-party no-drill brackets that clip over the door, but these are not made by Ring and may block the door seal or look out of place.
If you live in a condo or apartment, ask your building before you mount anything on a shared hallway door or exterior wall. Many buildings have rules about devices facing common areas. Our guide on whether doorbell cameras are legal in Canadian condos covers what to ask your board and how to set privacy zones. For the wider privacy picture, see our guide to security camera laws in Canada.
Ring doorbells in a Canadian winter
Ring doorbells work in the cold, but batteries drain faster and will not charge below freezing. This matters a lot in Edmonton, Calgary, Winnipeg or anywhere with long cold snaps.
According to Ring’s page on extreme temperatures, its devices operate normally between -20°C and 50°C, and the battery is designed to stop charging below freezing. A few practical tips:
- Bring the battery (or whole doorbell) inside to warm up before charging it.
- Consider a spare battery on models with a removable pack, so you can swap instead of waiting.
- Turn down motion sensitivity in winter to save battery life.
- If you have doorbell wires, connect them to a battery model. Many battery Ring doorbells can be hardwired to trickle charge.
- In very cold regions, a wired model is the most reliable choice year-round.
The same cold-weather logic applies to outdoor cameras. Our post on PoE vs Wi-Fi security cameras for Canadian winters explains why.
DIY or hire a pro?
A battery Ring doorbell is a good DIY job for most people. Wired models are where a pro saves time and frustration.
DIY makes sense if:
- You have a battery model and a wood or vinyl wall
- Your old wired doorbell works and your transformer label matches Ring’s range
- You own a drill and are comfortable on a step stool
Hiring a pro makes sense if:
- You are mounting on brick, stone or stucco and do not own a masonry bit
- Your doorbell keeps going offline or shows low power after install
- You are not sure which chime or power kit you need
- You want your camera, doorbell and Wi-Fi set up in one visit
At Pixl Canada, battery video doorbell installation is $99 and wired video doorbell installation is $149 (CAD, before tax). Our licensed technicians carry $5 million in general liability insurance, set up the app with you and test the chime before they leave. You pay after the job is done, by card, e-transfer or cash.
Want it done for you? Book a Ring doorbell installation with Pixl Canada, or call or text (587) 899-7495. We are open 7 days a week and serve cities across Canada. Adding outdoor cameras too? See our security camera installation service.
Frequently asked questions
Can I install the Ring doorbell myself?
Yes. Battery Ring doorbells are designed for DIY and take most people under an hour. Wired models are also DIY-friendly if your existing doorbell and transformer are compatible.
How long does it take to install a Ring doorbell?
A battery model usually takes 20 to 40 minutes, not counting charging time. A wired model takes 45 to 90 minutes, longer if you need to install a power kit or check the transformer.
Can I install a Ring doorbell without drilling?
Ring’s own mounting uses screws. Third-party no-drill brackets exist, but they are not made by Ring. Check your lease or condo rules before choosing either option.
Do I need an electrician to install my Ring doorbell?
Usually not. Battery models and low-voltage wired installs do not need one. If your transformer needs replacing or new 120 V wiring is needed, check with your local electrical authority, as Ring notes an electrician may be required in some areas.
Why does my Ring doorbell battery die so fast in winter?
Cold weather drains rechargeable batteries faster, and Ring batteries stop charging below freezing. Bring the battery inside to warm up before charging, or hardwire the doorbell if you have wires.
How high should a Ring doorbell be mounted?
Ring recommends about 4 feet (1.2 m) from the ground. Use a wedge kit to angle it toward your walkway or a corner kit if the door is set back.
Related smart home guides: wired vs battery video doorbell and doorbell camera privacy settings. Also read doorbell cameras without a subscription and mesh WiFi vs WiFi extender. Written by the Pixl Canada install team: licensed technicians with $5 million liability insurance, installing TVs, security cameras, smart home devices and appliances across Canada.
Related articles