
Security cameras · 8 min read · updated sep 2026
How to Install Security Cameras: WiFi and PoE Guide for Canada
By the Pixl Canada install team
Quick answer
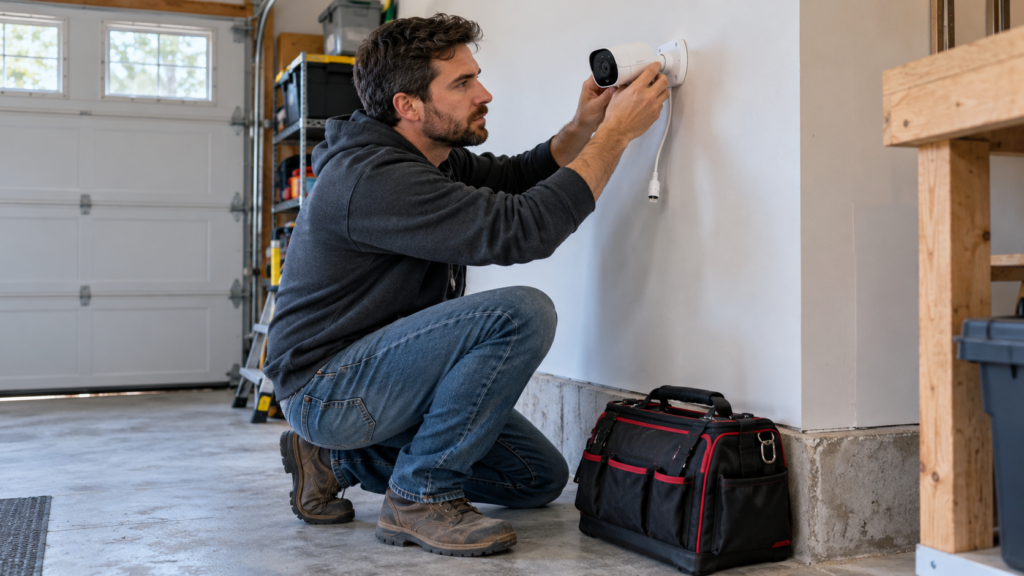
To install security cameras, plan where each camera will go, check Wi-Fi or plan your cable route, mount the bracket 2 to 3 metres high angled slightly down, seal every hole you drill, connect the camera to your app or NVR, then test day and night views. WiFi cameras take minutes each; wired PoE systems take a day or more.
Can I install home security cameras myself?
Yes. Most homeowners can install WiFi and battery cameras with a drill and a ladder. Wired PoE systems are also DIY friendly, but they take more time, attic work and careful sealing of every hole through your exterior wall.
You do not need an electrician for battery cameras or for PoE cameras, since the Ethernet cable carries both data and power from the NVR. You do need one if you want a new outdoor outlet, a new circuit or to hardwire a floodlight camera to a junction box. Permit rules for homeowner electrical work vary by province, so check with your local electrical authority before touching household wiring.
Plan before you drill
Walk around your home and decide what each camera must see: front door, driveway, back door, side gates. Our guide on where to place security cameras covers each spot in detail. For every location, confirm three things:
- Signal or cable route. For WiFi cameras, stand at the spot with your phone and check signal strength. Google Nest’s outdoor camera guide recommends testing Wi-Fi at the mounting spot before you install.
- Power. Battery, plug-in to an outdoor outlet, solar panel or PoE cable back to the NVR.
- Privacy. Aim at your own property. Avoid neighbours’ windows and yards. See can my neighbour’s camera point at my house for how this works in Canada.
What do you need to install security cameras?
A WiFi camera needs only a drill, screwdriver and ladder. A wired PoE system needs networking tools and weatherproofing supplies too.
| Tool or supply | WiFi / battery camera | Wired PoE camera + NVR |
|---|---|---|
| Drill, pilot bits, screwdriver | Yes | Yes |
| Masonry bit, hammer, plastic anchors | For brick or stone | For brick or stone |
| Long spade or auger bit (through wall) | Only for plug-in cable | Yes |
| Ladder and stud finder | Yes | Yes |
| Outdoor-rated Cat6 cable, fish tape or glow rods | No | Yes |
| RJ45 connectors and crimper, or pre-made cables | No | Yes |
| Exterior silicone sealant, weatherproof junction box | Optional | Yes |
| Cable clips | For plug-in models | Yes |
| Phone with the camera app | Yes | Yes |
Rather not climb the ladder? WiFi camera installation starts at $200 for 1 or 2 cameras, and wired systems get a free quote.
How to install a WiFi or battery security camera
Set the camera up in the app first, then mount it. That way you can confirm it works before you are up a ladder.
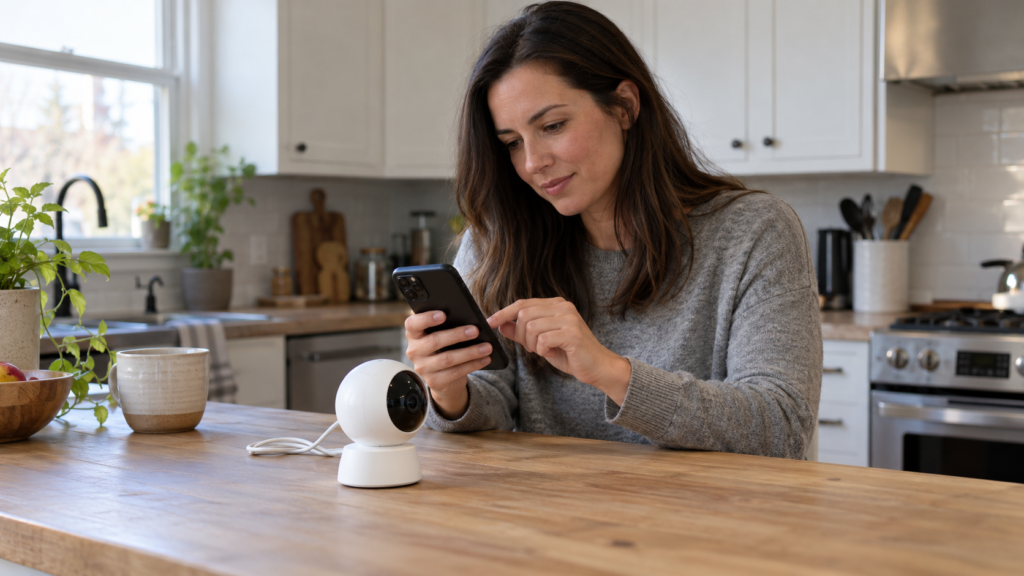
- Charge and pair. Fully charge the battery, then add the camera in the brand’s app on your home network.
- Test the spot. Hold the camera where you plan to mount it and check the live view and connection.
- Mark and drill. Hold the bracket level, mark the holes and drill pilot holes. Google’s Nest Cam Outdoor installation guide calls for a small pilot bit, plus a masonry bit and anchors on brick or stone.
- Mount the bracket into a stud, trim board or anchors. Avoid vinyl siding alone; screw through to solid backing.
- Attach and aim. Tilt the camera slightly down so it sees faces, not the tops of heads.
- Secure any cable. For plug-in models, Google says to place the first clip within 15 cm of the camera and keep the power adapter at least 50 cm above the ground, clear of snow and puddles.
- Set motion zones and alerts, then walk past to test.
How to install a wired PoE camera system with an NVR
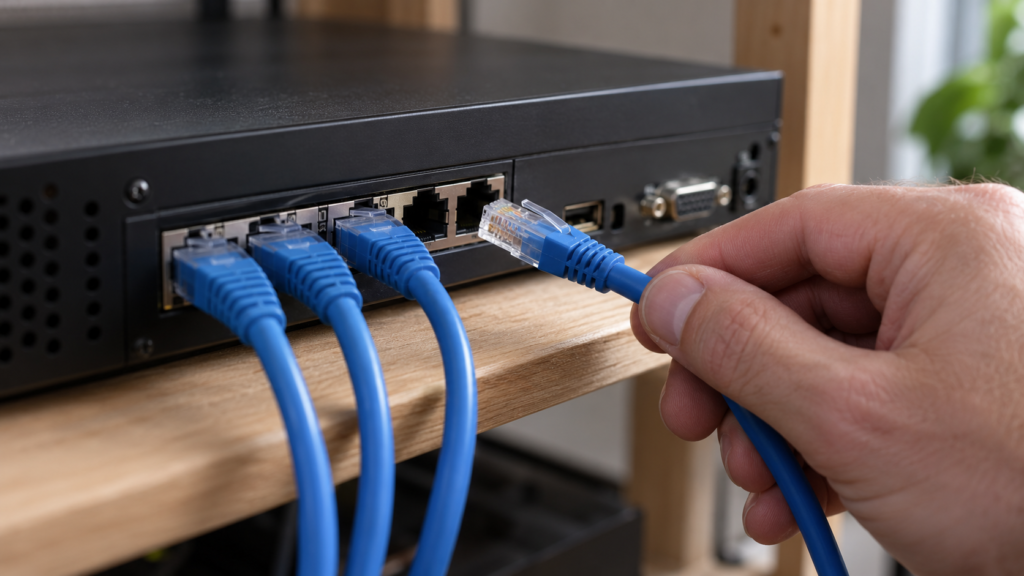
A PoE camera uses one Ethernet cable for power and video, so no separate power adapter is needed when the camera plugs into a PoE NVR or switch.
- Place the NVR somewhere central, cool and hidden, near your router, such as a basement utility room or closet.
- Test everything on the floor first. Plug each camera into the NVR with a short cable and confirm it shows up before you run any wire.
- Run Cat6 through the attic. Most installers drop cables from the attic into the soffit or down through the top plate of a wall. Use outdoor-rated cable outside, keep it away from electrical wiring and stay clear of insulation baffles and vents.
- Drill the exterior entry. Drill from inside the soffit or from outside through siding or brick, angling the hole slightly upward toward the inside so water runs out, not in. On brick, drill into the mortar joint when you can; it is easier to patch.
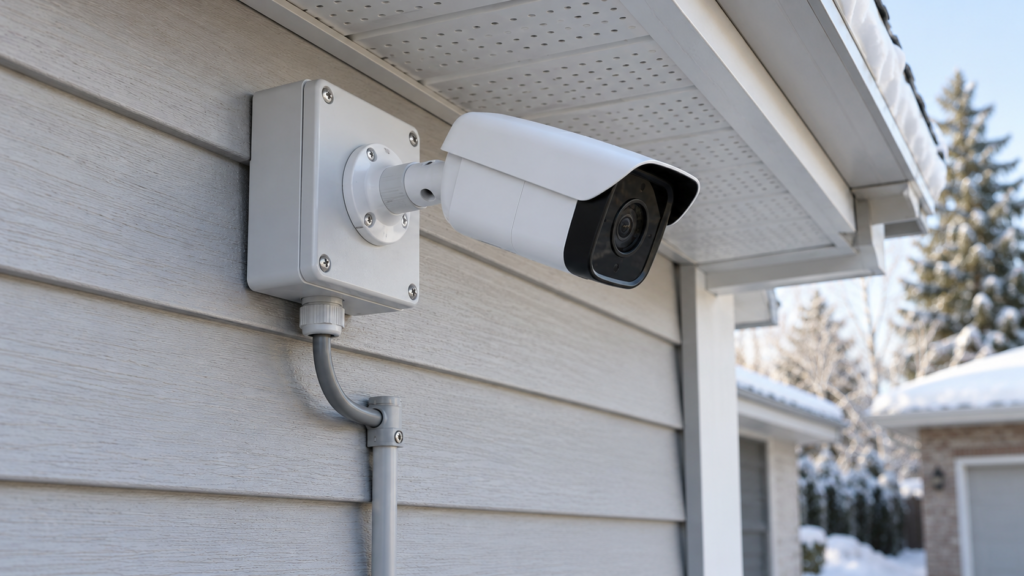
- Weatherproof the entry. Leave a drip loop (a small U-shaped dip in the cable) below the hole so water drips off before reaching it. Seal the hole with exterior silicone, or house the connection in a weatherproof junction box behind the camera.
- Cap the connector. Reolink’s weatherproof cap guide says all its outdoor cameras with an RJ45 port need the included weatherproof cap installed outside.
- Mount and aim the camera, then plug the other end into the NVR’s PoE ports.
- Connect the NVR to your router with an Ethernet cable, then add it in the app and set a strong password. Reolink’s NVR setup guide walks through scanning the QR code and creating that password.
Deciding between recording to the NVR or paying for cloud plans? Our cloud storage vs local NVR guide compares both.
How to install an outdoor security camera so it survives winter
Mount it under an eave, seal every opening and choose hardware rated for your climate. Cold is hardest on batteries, so wired power is more reliable through a prairie or northern winter.
- Check the cold rating. Ring’s extreme temperatures guide lists normal operation down to -20°C and says battery life drops near freezing.
- Plan for charging. Ring notes its devices stop charging below freezing, so you may need to bring batteries inside. A spare battery helps.
- Use shelter. An eave or soffit keeps snow and ice off the lens and reduces glare.
- Keep snow clear. Mount high enough that snow banks and shovelled piles cannot block the view.
- Re-check seals each fall. Silicone and caps can crack after freeze-thaw cycles.
How do you test night vision after installing?
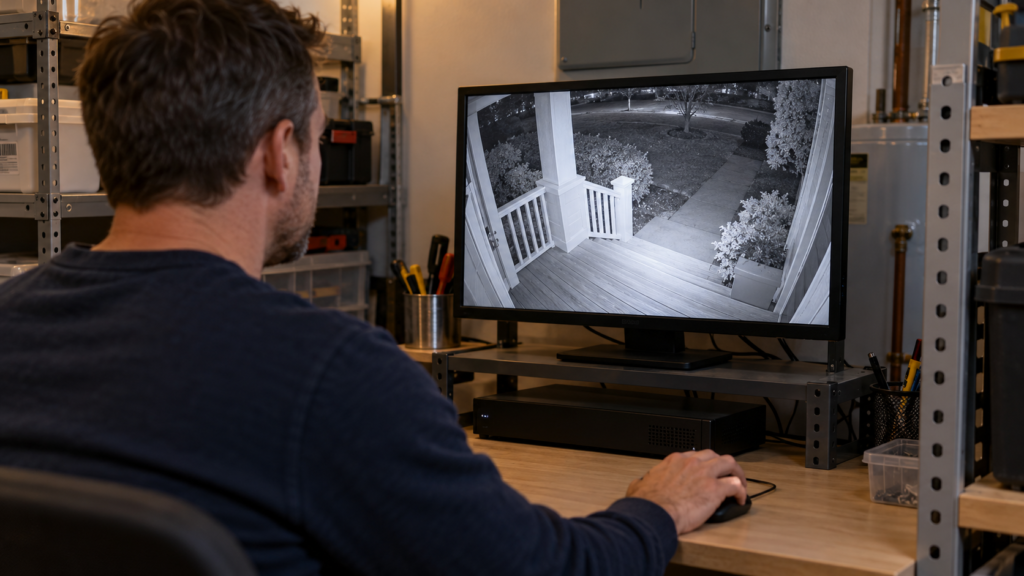
Check the live view after dark on the first night. Walk through each camera’s view at the distance you care about and confirm you can see a face and not just a shape.
Common night problems are easy to fix. A white glow usually means infrared light is bouncing off a nearby soffit, wall or gutter; tilt the camera away from it. A blacked-out image usually means a porch light shines into the lens; move the light or the camera. Spider webs also show up bright at night, so wipe the lens and housing.
DIY or hire a pro?
One or two WiFi cameras are a reasonable DIY job. Wired systems, brick walls, two-storey soffits and attic cable runs are where most people call for help.
| DIY | Pixl Canada | |
|---|---|---|
| WiFi cameras | Your time and a ladder | Installation from $200 for 1 or 2 cameras, before tax |
| Single smart camera (Ring or Nest type) set up as a smart device | Easy | $89 |
| Wired CCTV / PoE with NVR | A full day or more, attic work, sealing | Free custom quote after photos or a walkthrough |
| Risk | Leaks, weak signal, bad angles | Licensed technicians, $5 million liability insurance |
Pixl Canada installs home and business camera systems across Canada. We plan the angles, run and seal the cable, set up the NVR or app, and you pay after the job. See our security camera installation service or contact us for a free quote. You can also call or text (587) 899-7495, 7 days a week.
Frequently asked questions
Do you need an electrician to install security cameras?
Not for battery or PoE cameras, which do not touch household wiring. You need a licensed electrician for new outdoor outlets, new circuits or hardwired floodlight cameras. Check with your local electrical authority on permit rules.
How high should security cameras be mounted?
Most outdoor cameras work best about 2 to 3 metres up, angled slightly down. That keeps them out of easy reach while still capturing faces. Google recommends 1.8 to 2 m for its battery Nest Cam.
How do you run security camera wires through an exterior wall?
Drill a hole angled slightly upward toward the inside, pull the cable through and leave a drip loop outside. Seal the hole with exterior silicone or use a weatherproof junction box behind the camera.
Can WiFi cameras work without internet?
Most need Wi-Fi for live view, alerts and cloud recording. Some record to a local SD card or base station, but you usually lose remote viewing. A wired NVR system can keep recording locally if the internet goes down.
Do battery security cameras work in Canadian winters?
They work, but battery life drops in the cold. Ring lists normal operation down to -20°C and says its devices stop charging below freezing. In colder regions, wired or plug-in power is more reliable.
How much does security camera installation cost in Canada?
At Pixl Canada, WiFi camera installation starts at $200 for 1 or 2 cameras, before tax. Wired CCTV and NVR systems and all business systems get a free custom quote.
Also read what is CCTV and how it works and mesh WiFi vs WiFi extender. Written by the Pixl Canada install team: licensed technicians with $5 million liability insurance, installing TVs, security cameras, smart home devices and appliances across Canada.
Related articles